![]()
If you've enabled the Social Media Sharing icons on your site you'll see that there are two options for placing the icons: Beneath Navigation and End of the Block.
What this option will do is to place the Social Sharing container either after the navigation container or after the block container in the page document.
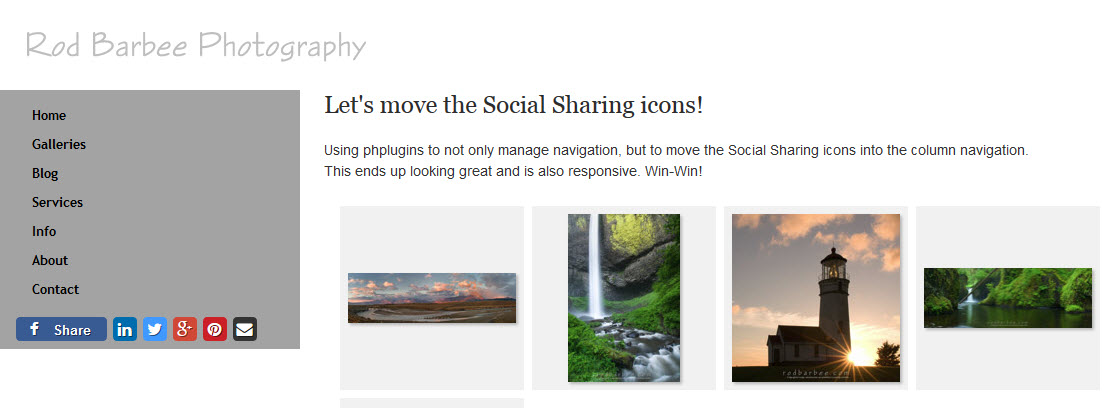
This gets a little confusing if you've chosen Navigation type: Column. Column places the navigation outside the rest of the page in a column to the left. If you've set Social Sharing to display Beneath Navigation you might expect it to appear beneath the navigation column. But that's not how it works.
The Social Media Sharing code still appears after the navigation in the page document, but since the navigation container has been moved outside the normal document flow, Social Sharing will now appear at the top of the page.
But moving the Social Media Sharing icons into the navigation container isn't really hard to do using phplugins. And you know what? You don't need to know any php to do this. As with many uses of phplugins, if you can copy and paste, you can customize your site.
First things first, you need to have phplugins enabled site wide. The documentation on how to do that is here. Make sure you rename the phplugins-sample/ folder to phplugins/. This is important as it will prevent Lightroom from accidentally overwriting your file the next time you export.
If you've got an established TTG site this means you'll need to enter the server path to phplugins in each plug-in and re-export and upload things like Pages, your Publisher templates, and any stand-alone indexes, galleries, and other pages not managed by Publisher.
What we'll be doing is copying the html that makes up the Social Media Sharing icons section and placing it inside of the navigation container html.
The first step is to get that html. It doesn't really matter which TTG plug-in you use for this, but if you're site is Pages based, just use Pages.
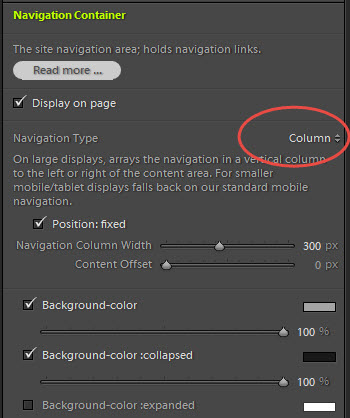
Set up your site navigation with the links you want and configure for column navigation.
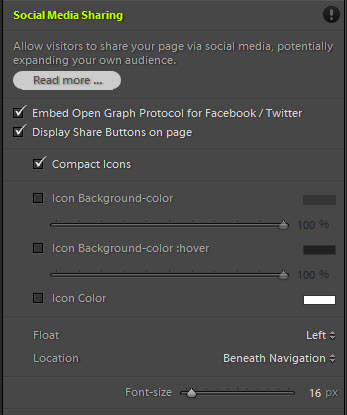
Configure the Social Media Sharing icons to your preference. Go ahead and just place them Beneath Navigation.
Now export and upload.
After your page (or Pages) is uploaded, go to it in your web browser. Right-click anywhere on the page and choose View Page Source (or words to that effect, each browser is a little different).
You'll need to look for the code that contains the Social Sharing. It starts with this:
<div id="social-media-sharing" class="social-media-sharing clearfix">
and ends with this:
</div> <!-- #social-media-sharing -->
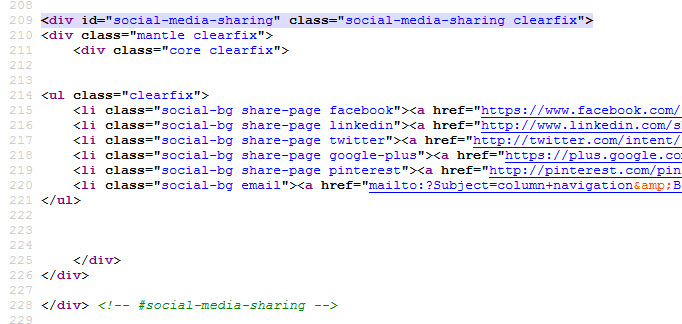
Copy all of it.
Open up your plain text editor. Notepad++ for Windows and Text Wrangler for Mac are two of the best free text editors out there.
Create a new text document and paste the html code for your social sharing. We'll just use this text file to temporarily store code.
Since we're using phplugins to insert the Social Media Sharing icons into the navigation container, this means you'll also be using phplugins to manage your navigation. This is actually a good thing. If you ever need to add or a remove a page from your menu you can now just edit one file instead of needing to change the navigation in Lightroom, exporting, and uploading.
If you're already using phplugins to manage your navigation, you can skip the next step and jump to the part about adding Social Media Sharing to the navigation container.
Let's go back to the page source where you copied the Social Media Sharing html.
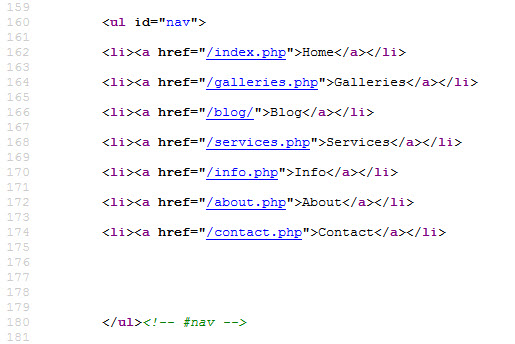
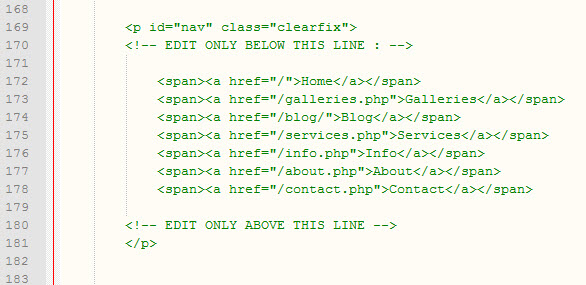
Now copy the navigation html. It will start with this:
<ul id="nav">
and end with this:
</ul><!-- #nav -->
And overall, it will look like this, yours may be different depending on which navigation items you've set up:
Paste this code into the text file you started earlier, just for safe keeping.
In your text editor, open your phplugins.php file.
Scroll down to the section titled:
// SITE-WIDE "TRADITIONAL" NAVIGATION MENU
We're going to replace this section with what you copied from your page's source code:
Even though the instructions here state to edit below and above those lines, we're going to replace that entire section.
Go back to the text file where you've stored the navigation html code. Select that code and copy it.
Come back to your phplugins.php file and select the code shown above. Then either right-click and choose paste or use CTRL-V (Win) or CMD-V (Mac). This will paste in your navigation, replacing the highlighted code.
Add the Social Media Sharing icons
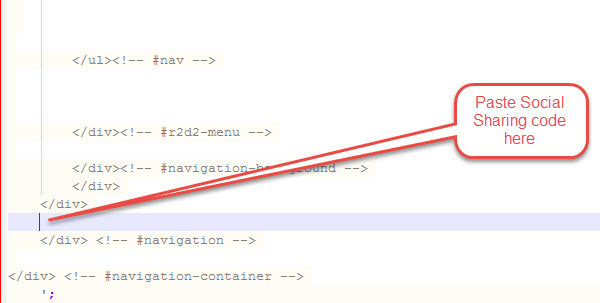
Now go back to the text file and copy the Social Media Sharing html code. In the phplugins.php file, just below your new navigation code, look for this bit:
</div>
 </div> <!-- #navigation -->
Place your cursor directly after the first </div> and hit the Enter key to create a new line.

Paste in the Social Media Sharing html starting on that new line.
If you're already using phplugins to manage your navigation, find the corresponding location in the section of the file you're using.
The social sharing code now starts just before the end of of the navigation container.
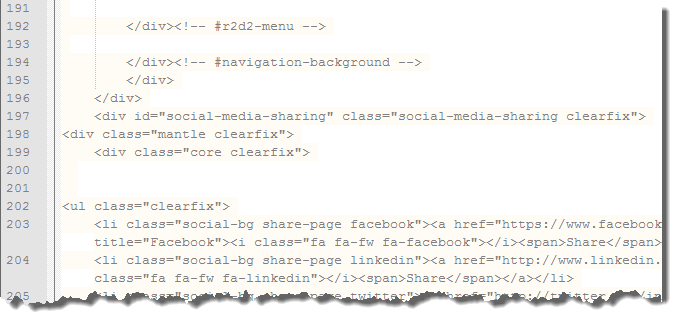
And ends just before the navigation container closes.

Now be sure to delete the indicated lines that are at the beginning and end of this particular section of the phplugins file. They're easy to spot as they state /* DELETE THIS LINE and DELETE THIS LINE */. If you previously managed your navigation with phplugins, you've already done this.
Upload the modified phplugins.php file to your phplugins/ folder, overwriting the existing one.
Now visit you're site. You should see something similar to this.
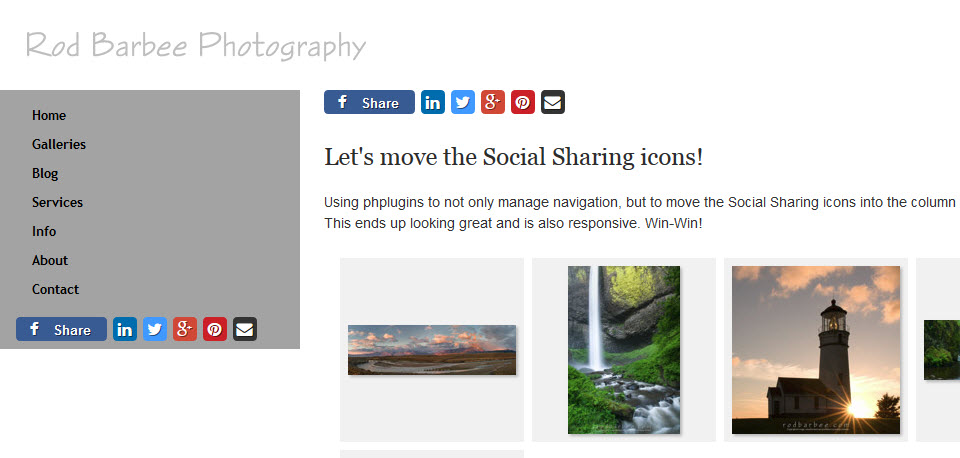
But you don't need the Social Media Sharing icons at the top of the page as well. So go back to Lightroom and uncheck "Display Share Buttons on page" under Social Media Sharing. Export again, overwriting the previous export, and upload.
Once the upload is complete, refresh the page in your browser and the Social Media Sharing icons at the top of the page should disappear.
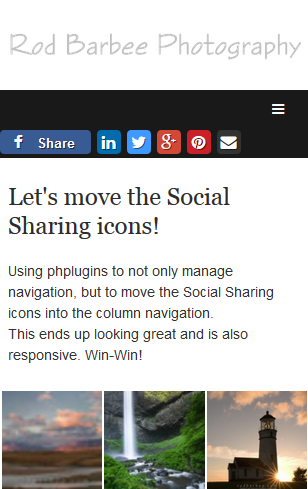
While your at it, change the width of your browser, making it narrower and narrower until the responsive menu kicks in. You'll see that the Social Media Sharing icons fit nicely into the mobile navigation.
Ok, that was pretty long and detailed for just copying and pasting a couple of sections of code. And if you've not done it before, all the details hopefully helped. But now you can use this exact same technique to add to or move parts of your pages around.
For example, at the bottom of your page you may have your Social Media Profile icons so people can visit your Facebook or other pages. The TTG plug-ins can't contain all the code for all the social media services out there, so what do you do if you want to add a service that's not listed in the Social Media Profiles section of the TTG plug-ins? I'll let you contemplate that one until I get that tutorial written. I'll tell you one thing though; it's easier than what we just did.

