Here’s how to add a border and box-shadow to the inline Theater Vegas slideshow using custom css. If you’re not already using custom css on your site, refer to the Backlight documentation to set it up.
This one’s a little bit tricky because of how the Vegas inline slide show is constructed. Using the browser inspector, I can see that the images are inserted as background-images in the div rather than being an img element. So there is no img element to target with css.

This means you need to target the slide show container or the gallery div itself.
But first, a caveat. Because we need to target the container, this means the border and the box-shadow will be applied to the container, not the image. This is important if you’re using the “Fit” image scaling setting in the Theater Vegas template. Fit means the entire image will be displayed in the container, whether it’s the same aspect ratio as the container or not.
So if the images you’re posting are not exactly the same as the aspect ratio set in the template (like using a 3:2 ratio but including verticals or panos, which, of course, will be of different ratios), there will be space on either side of the image in the slide show container (either left and right in the case of verticals or above and below in the case of panos). And since the border and shadow styling is being applied to the container, this will look awkward. You’ll have an image inside a box and that box will have the border and shadow. For example, see the image below.
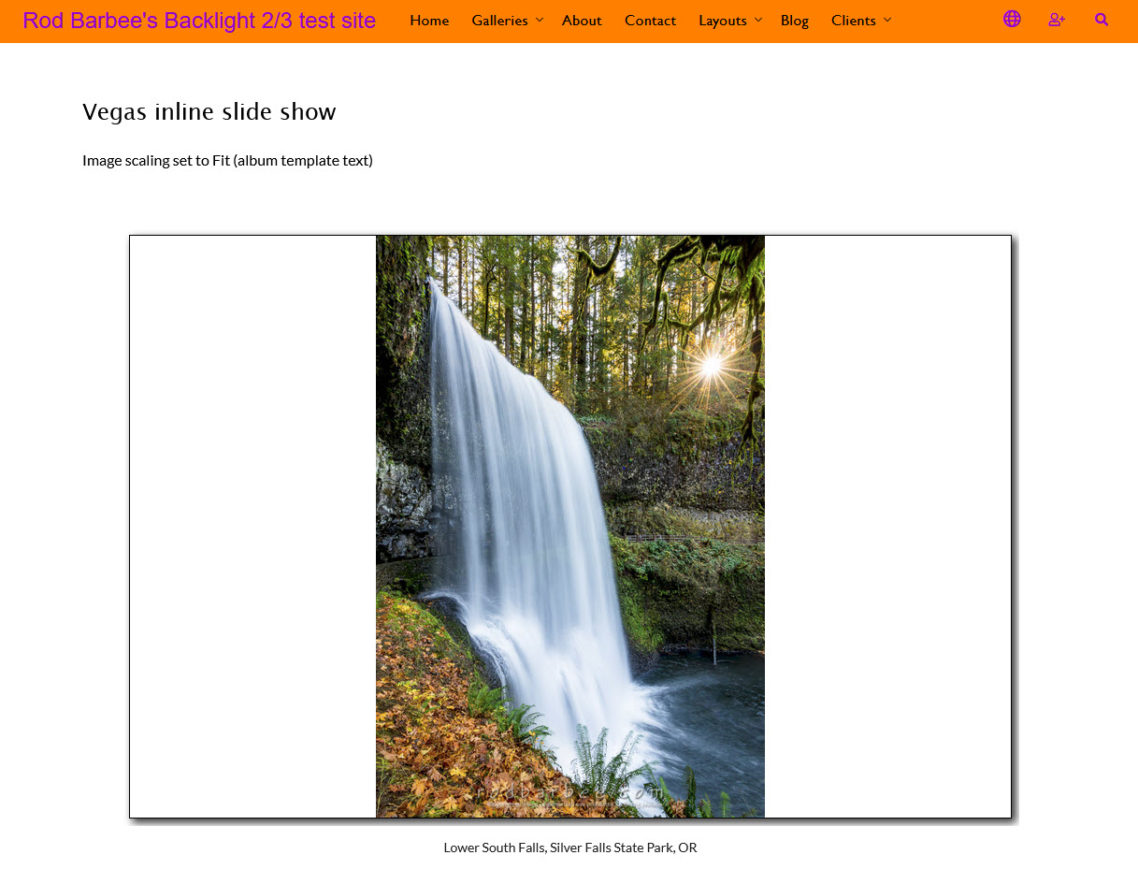
This is what happens when using the “Fit” image scaling and using images that are not of the same aspect ratio as the template setting. This isn’t the best look.
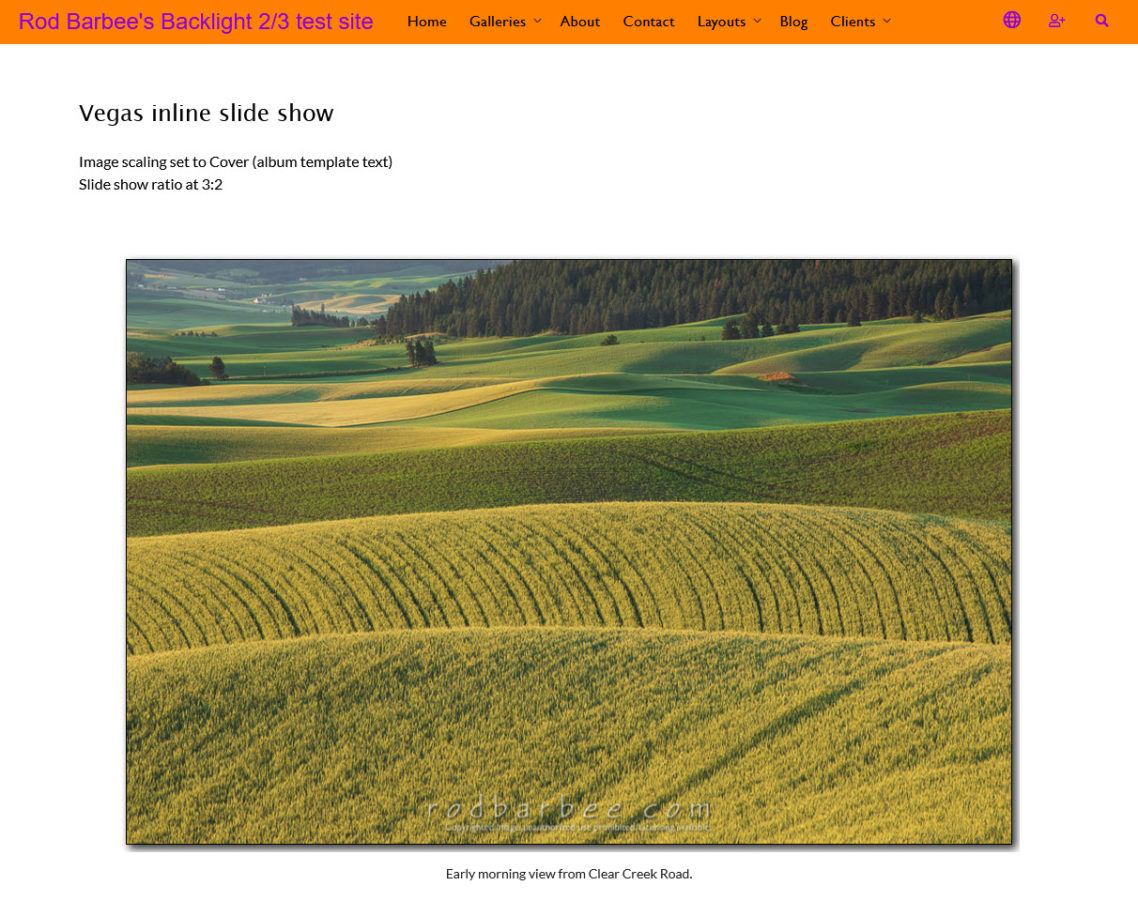
The way to get around this is to either only use images that exactly match the aspect ratio of the slide show (which can be difficult), or use the “Cover” image scaling option.
With Cover, the image will fill the entire space of the slide show. This usually means some of the image is cropped. If you use Cover, it’s best not to mix horizontals and verticals in the slide show, and all images should be close to the aspect ratio set in the template.
Here are two ways I found for apply a border and shadow using custom css.
Target the #gallery div
#gallery {

border:1px solid black; //or choose another color

box-shadow: 4px 4px 8px rgba(0, 0, 0, 0.5); //adjust to your liking

}
However, that will affect all #gallery divs on your site so you will also want to target using the body class for either the slug or the template name, depending on where else you may want to use this styling. See this post.
Target the .vegas-slide div
Because the Theater Vegas slideshow container takes up the entire width and height of the #gallery div any shadows you add won’t be seen. So you need to “shrink” the slide show container. You can do this by adding margin to the .vegas-slide div with custom css:
.vegas-slide {

border:1px solid black;

box-shadow: 4px 4px 8px rgba(0, 0, 0, 0.5);

margin: 8px; //experiment with margin size

}
If you do this, also change the Vegas background color in the template to match your page background color. Or add this to your css:
.vegas-container {

background-color:white; //use your page color

}
This css will affect all of your Theater Vegas inline slideshows. If you only want this styling on this page, then add a body class to each selector.
In both cases above, the only reason that this css will appear to put drop shadows on the images is that you’re either using the “Cover” Image scaling option or your images are the same aspect ratio as the container.
Remember, the shadows are actually being added to the container (whether the #gallery div or the .vegas-slide div).
And keep in mind, if you’re using the “Fit” Image Scaling option and the aspect ratio of any images differs at all from the aspect ratio of the container, then things would look weird since the container would be larger than the images and the border/shadow is being to applied to the container.

